Recently I have finished working on a quite big (for a small team) project of a promo music video for PUBG Mobile game. That was quite an interesting experience. So, first of all, here’s the final result
Well, yeah, let’s be honest – it’s far from perfect, many things need some polishing for sure, but given that we only had 15 days (officially) and 6-9 freelance artists all working remotely to deliver almost 2,5 minutes of CG… i think we did a nice job overall 🙂
I’ve been invited to participate in the project by VFX producer Igor Ginzburg and our team lead Alexander Marchuk taking a role of an on-set CG supervisor and Lead 3D artist. So my part began on the shooting set in a big chromakey pavilion. Eighteen hour long shift started early in the morning and ended… well… early in the morning too :)) In fact, I didn’t even seen the end of it, because I had to catch my train to go home (in 700km from the shooting location). But nevertheless, it was a fun experience 🙂
But above all else… the buffet was simply the best part of this whole operation :))

Ok now, while source material being edited on the production side, our team have to dissect macro tasks into the smaller ones, delegate it to all the participants and organise project management, and do it as fast and efficient as possible. Our first choice for a project management system was Trello: accessible, wellknown, easy to use. But soon we realized, that its’ “flat" 2D structure doesn’t fit our project scale. We needed something more flexible and VFX pipeline oriented, so I suggested Cerebro. Being probably the most experienced with it, I partially took the roles of Project Manager and Technical Director, helping our Team Lead to develop and organise scenes and shots structure, naming conventions and technical requirements for data exchange inside our VFX pipeline.
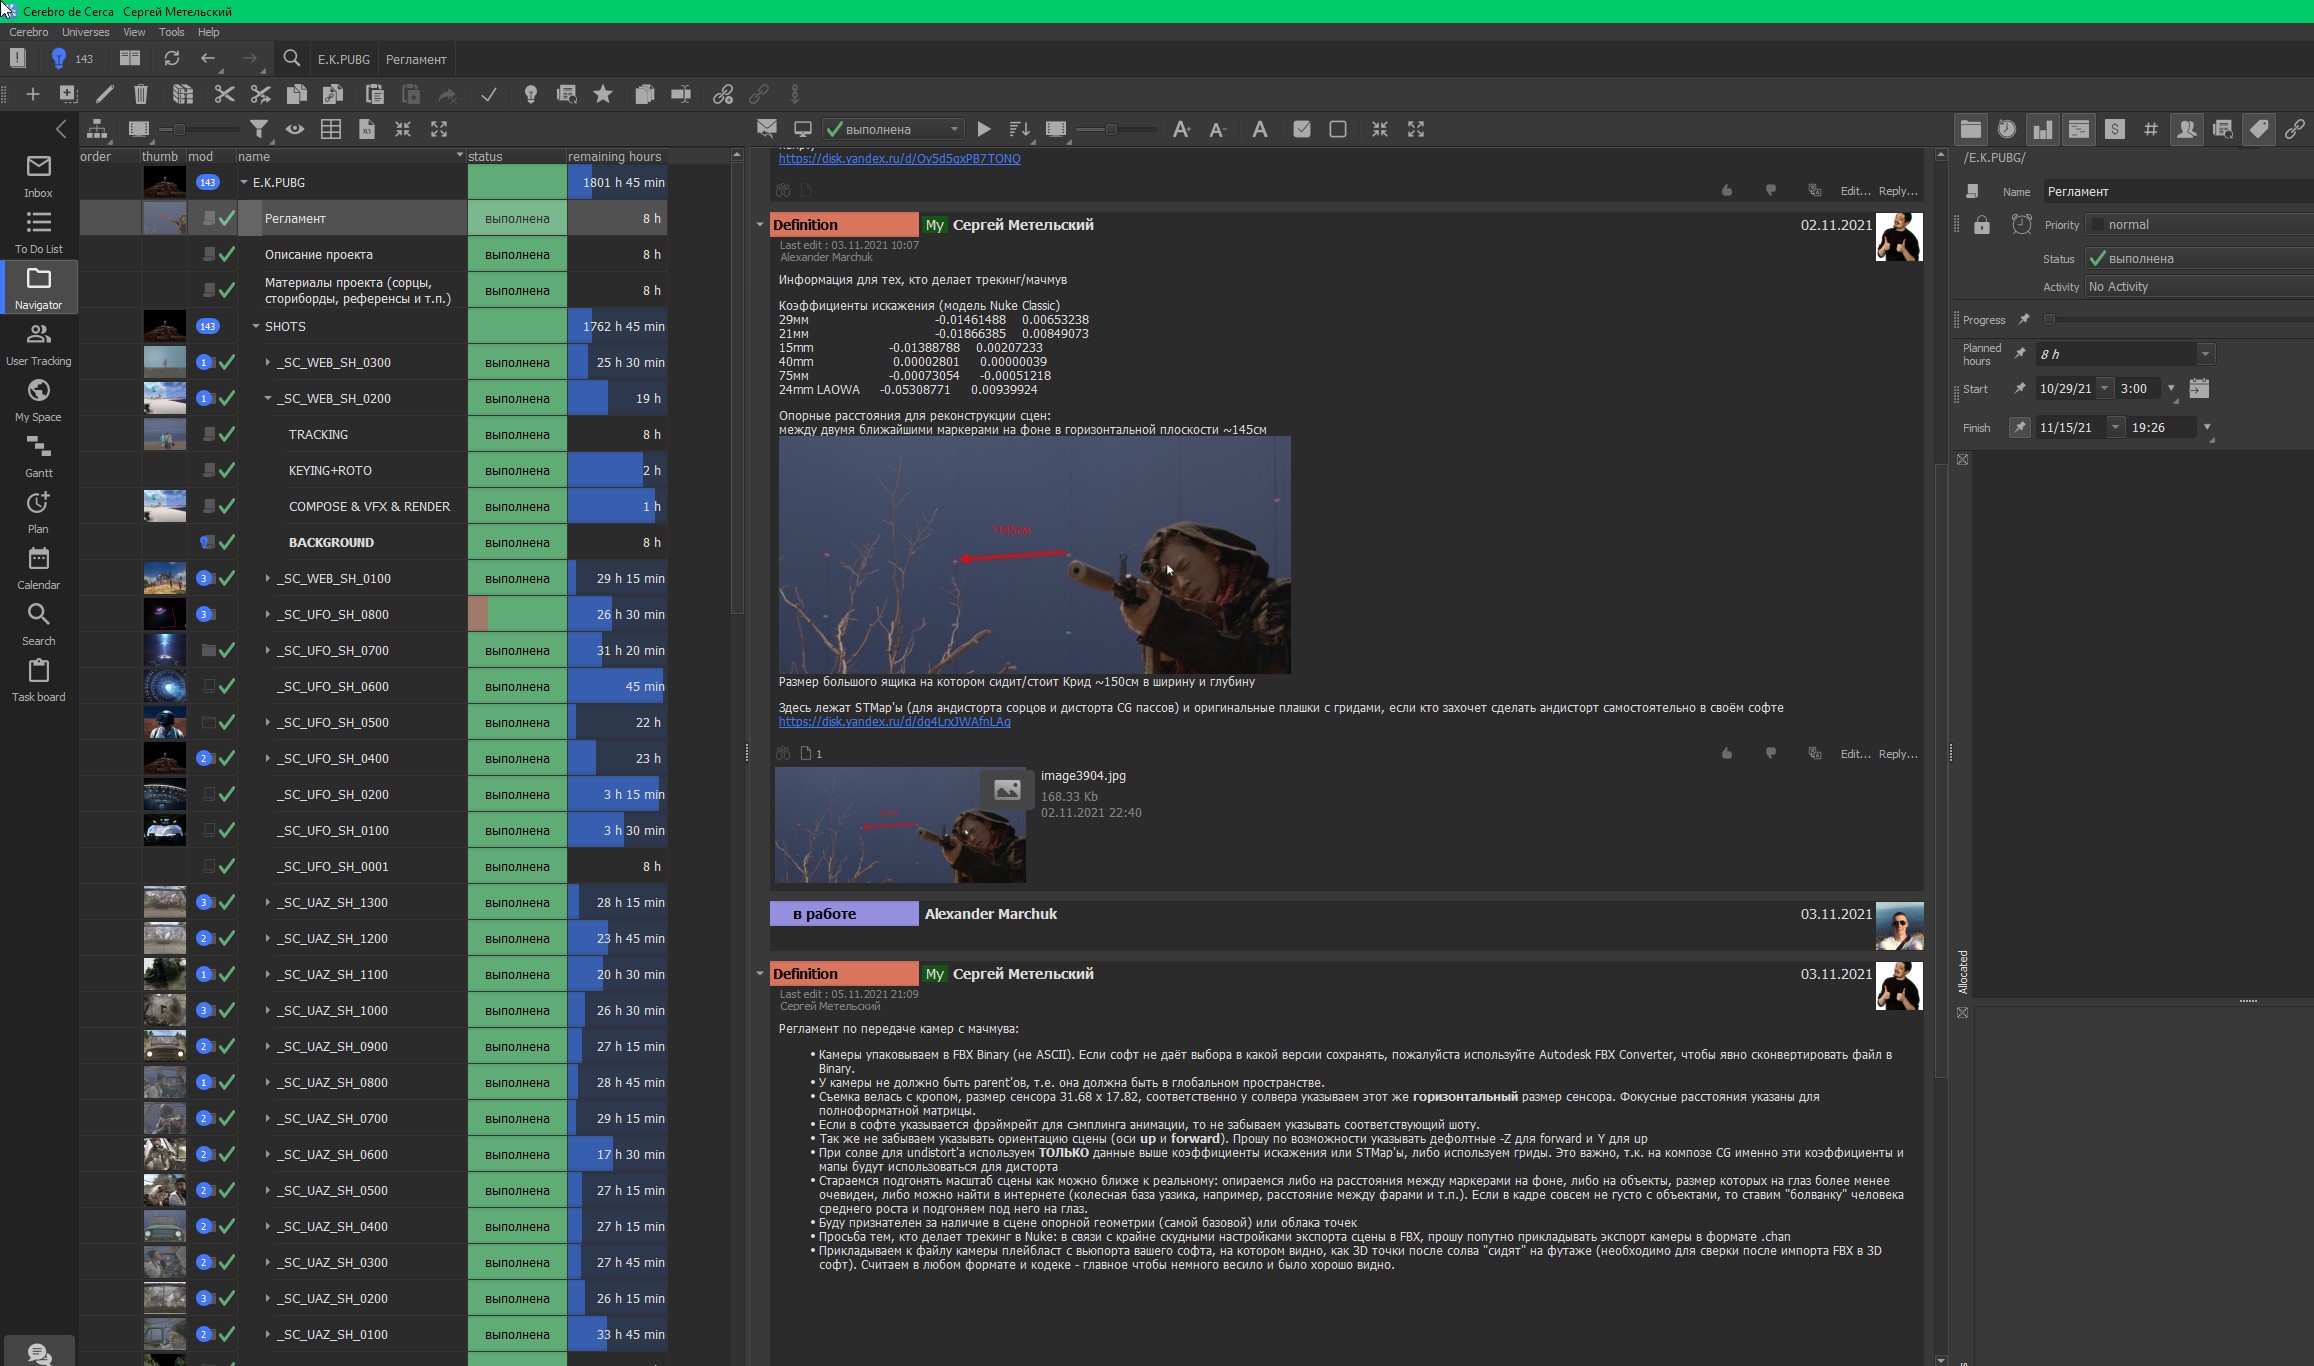
Cerebro PMS
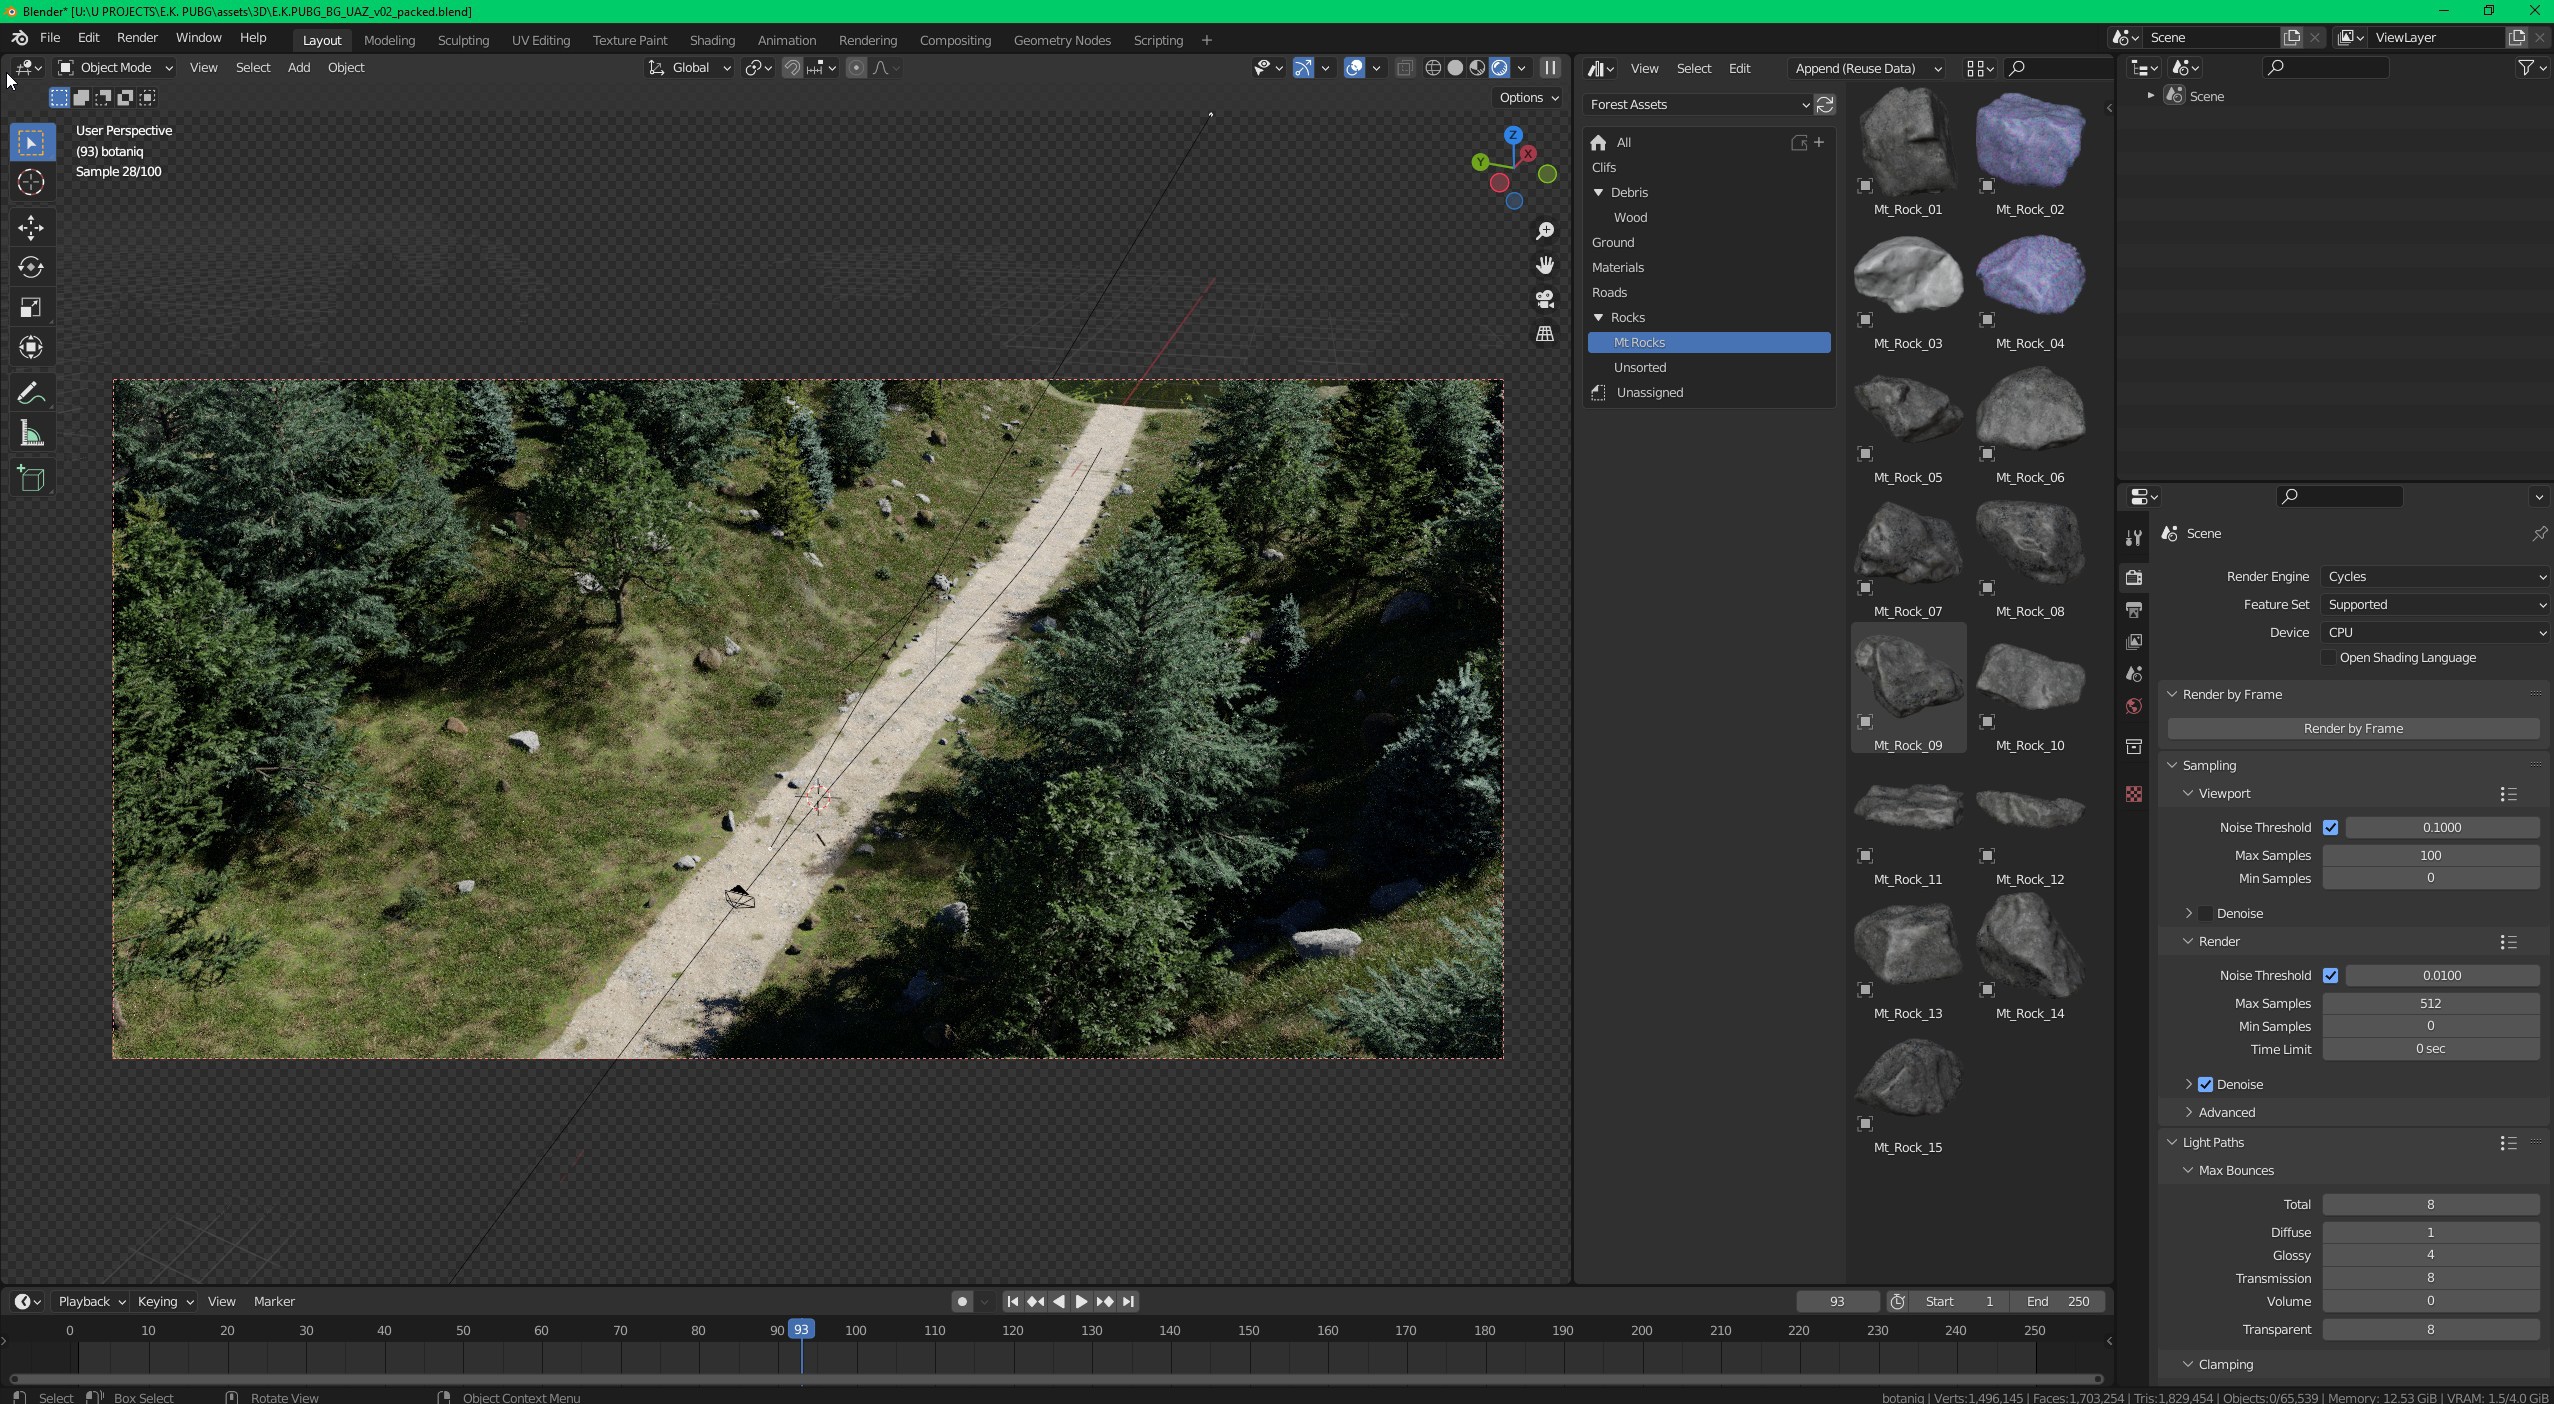
Once we’ve established our pipeline, I distanced myself from micromanagement to concentrate on my prior task – delivering 3D renders for all the shots with the actors on a CG background. I had to build four different locations and due to a very short time budget all the locations were build completely out of stock assets: rocks, cliffs, trees, debris, surfaces, etc.

Brand new asset browser
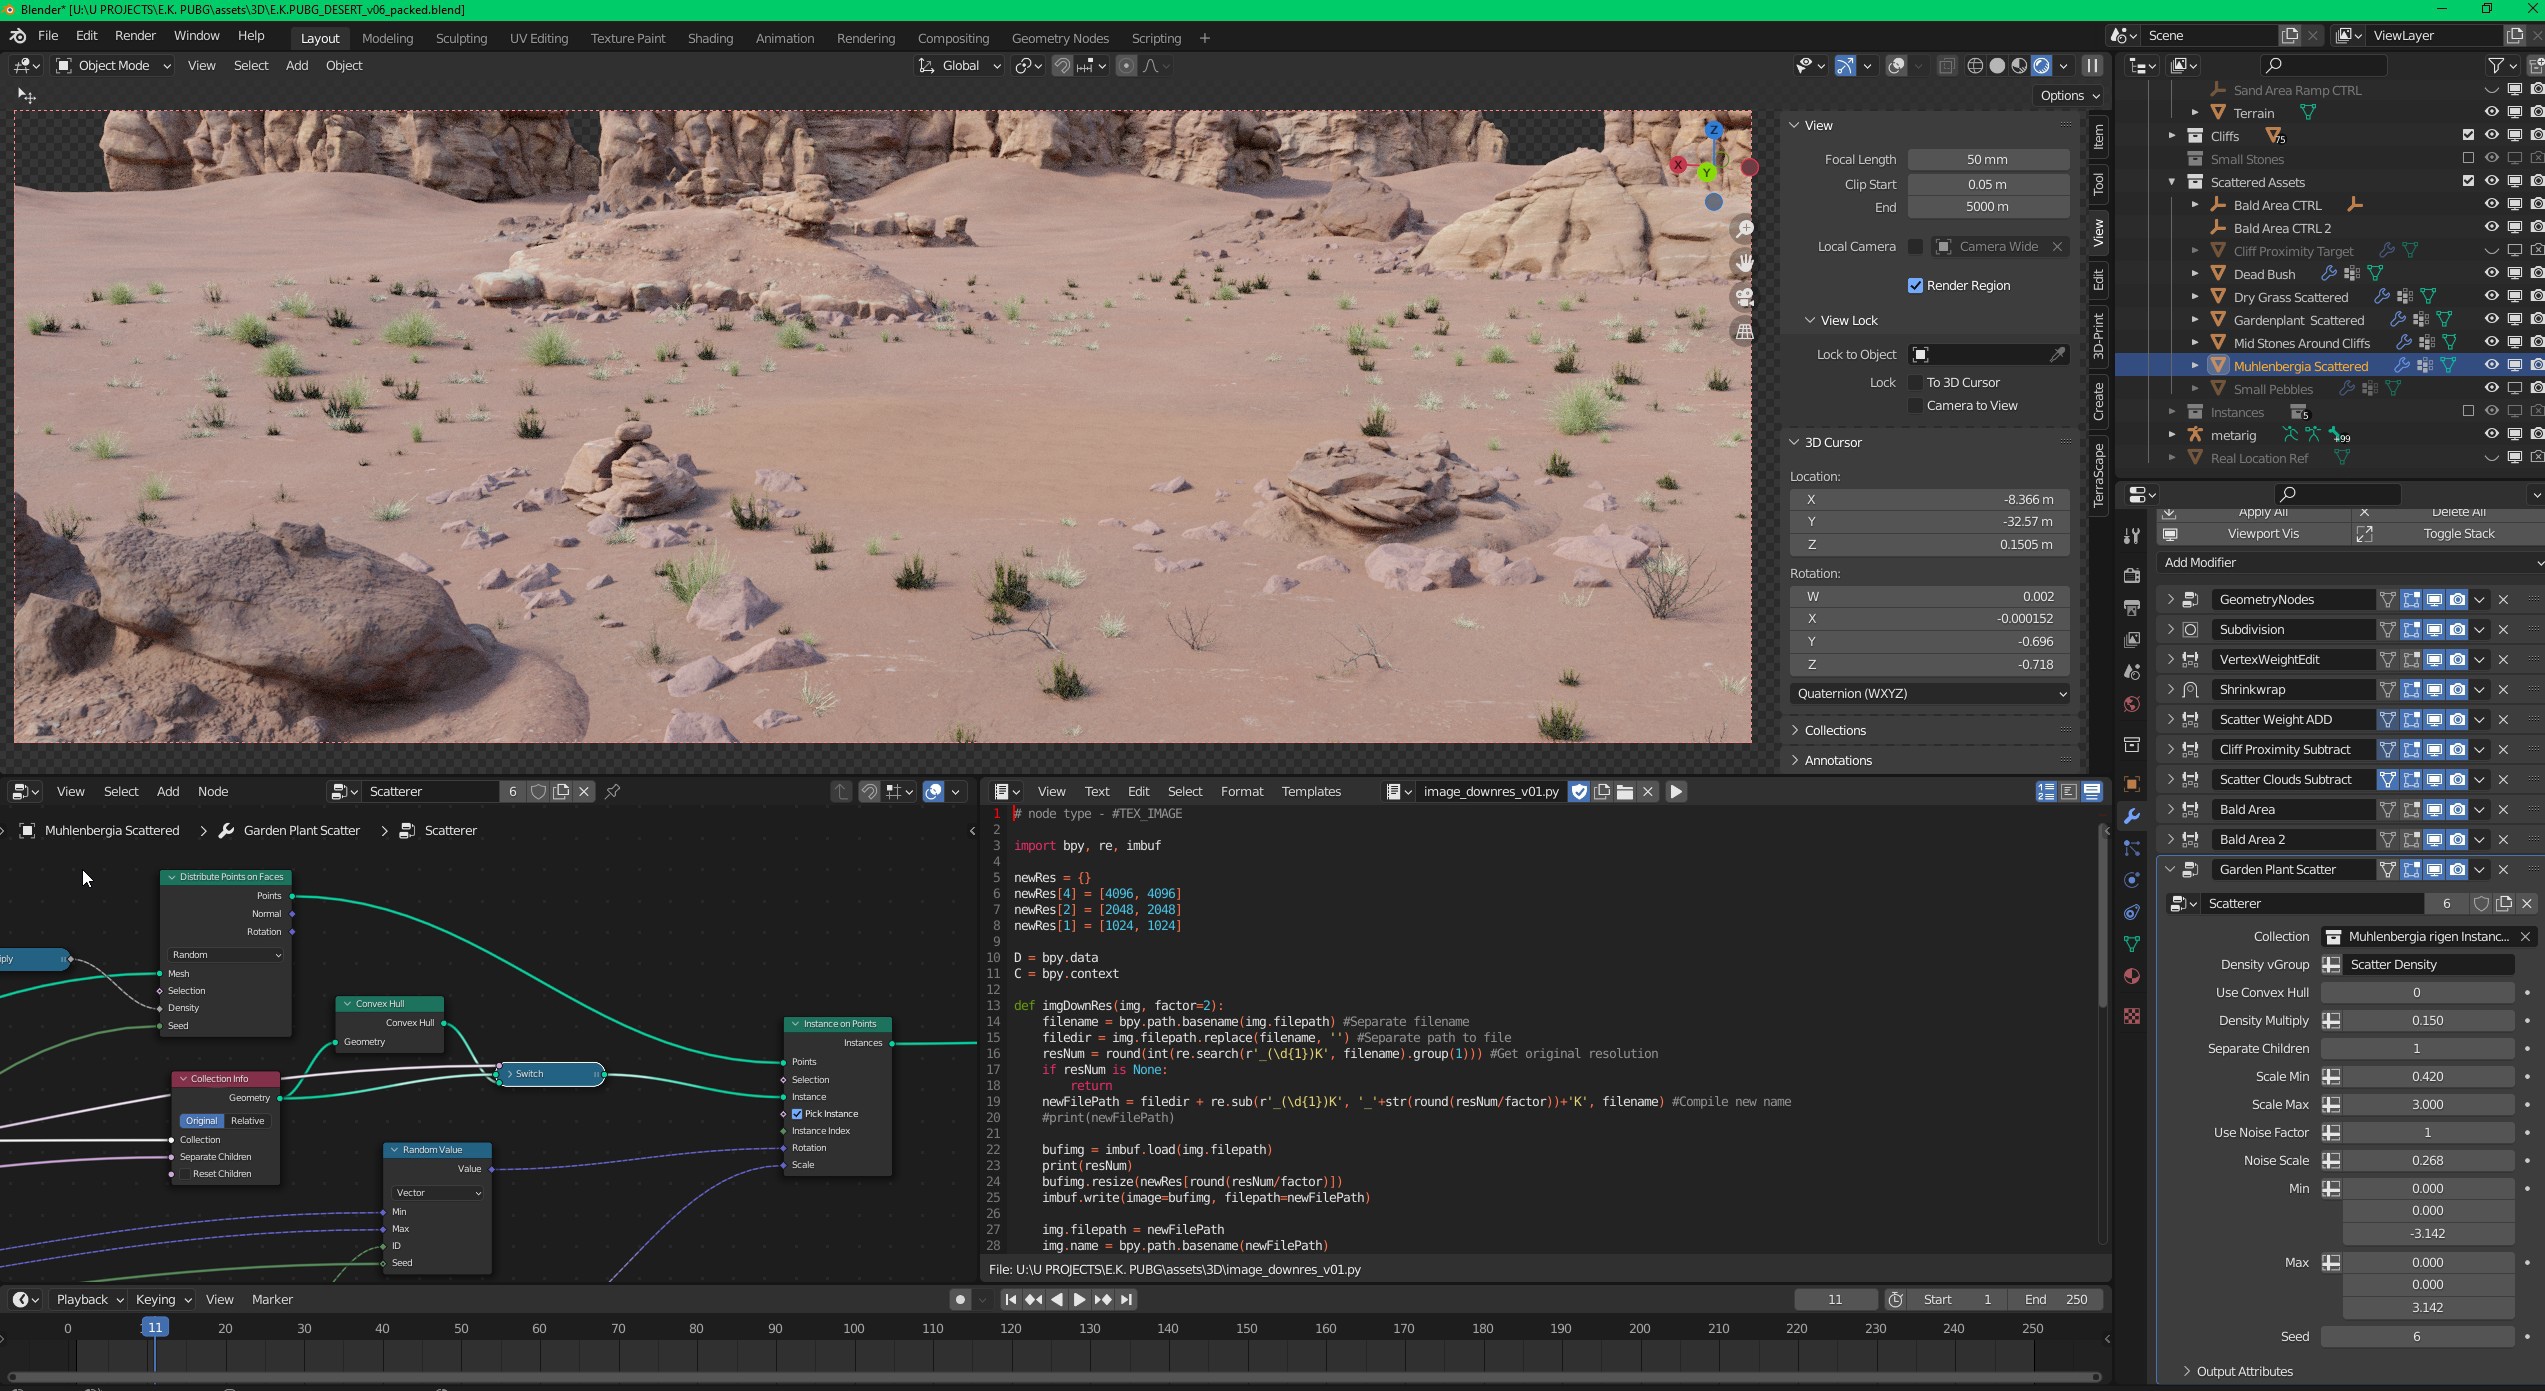
On top of that, we really had no time to do the set dressing by hand. And that’s where the newest fashion trend – Blender’s Geometry Nodes came in irreplaceable. Though by the time it was still in beta, this tool really proved to be stable and flexible solution.
For all of the locations, I’ve build a single powerful GN nodetree, that could be linked to all the “working" .blend files to easily populate any surface with desired geometry. So in the end, hand labor was reduced to tweaking the position of just a few major scene elements, while the Forest scene was 100% procedural in terms of the basic geometry.
Once the locations were assembled and approved, I needed to find the way to effectively use the digital set in the context of multiple scenes (not blender scenes, but the music video scenes) which in their turn includes up to a dozen shots (separate camera takes from cut to cut). I needed the ability to update the digital set in one file, expecting it to automatically propagate to all the shots that uses it AND in the same time being able to apply minor tweaks from shot to shot. And again, Blender’s new library overrides system combined with flexibility of the collections gave just a perfect result.
Yeah, it might be a bit tricky to grasp at first, but once you wrap your head around the basic concepts of datablocks, overrides and how all of it interlinks inside of Blender files, it really becomes a super powerful production tool.

Assets relations
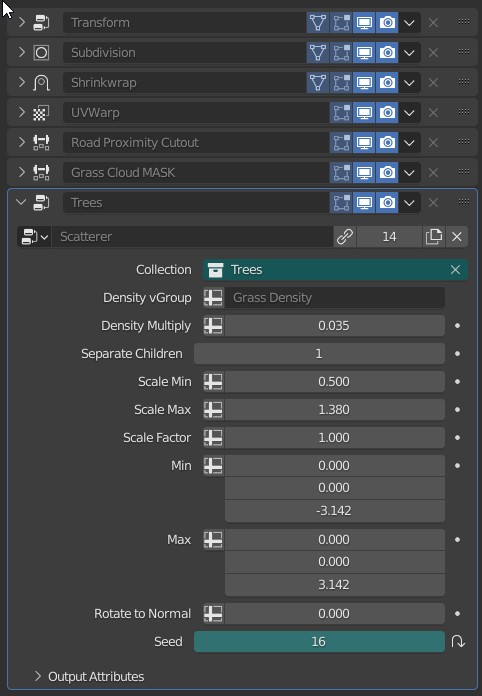
Random seed overrides in the linked GN modifier
For example, as I mentioned before, a fully procedural rig for the forest scene was made and then linked to all the car shots. Original forest chunk was pretty short in the real world scale, for the viewport performance sake. But being able to override geometry nodes parameters from shot to shot and in the same time maintain the link to the original setup and all of it’s changes, gave me the ability to easily randomize the background, thus creating an illusion of a huge set.
Then Blender’s Scene system came in extremely handy, allowing me to effectively combine “local" (camera, proxy geometry) and “global" (digital set, lights position) elements from shot to shot, conveniently keeping it all in a single .blend file. For more flexibility and control a master scene called “Template" was created, then all the other scenes containing actual matchmoved cameras were tied up to this scene via drivers. So in the end, if I wanted to change some render or scene settings I only needed to tweak it in the master scene.
Then, to render it all out on a render farm a simple .bat file was written, containing only a single line of text with all the scenes passed as a space separated arguments. Just couldn’t been simpler 🙂

A single blender scene for a single shot
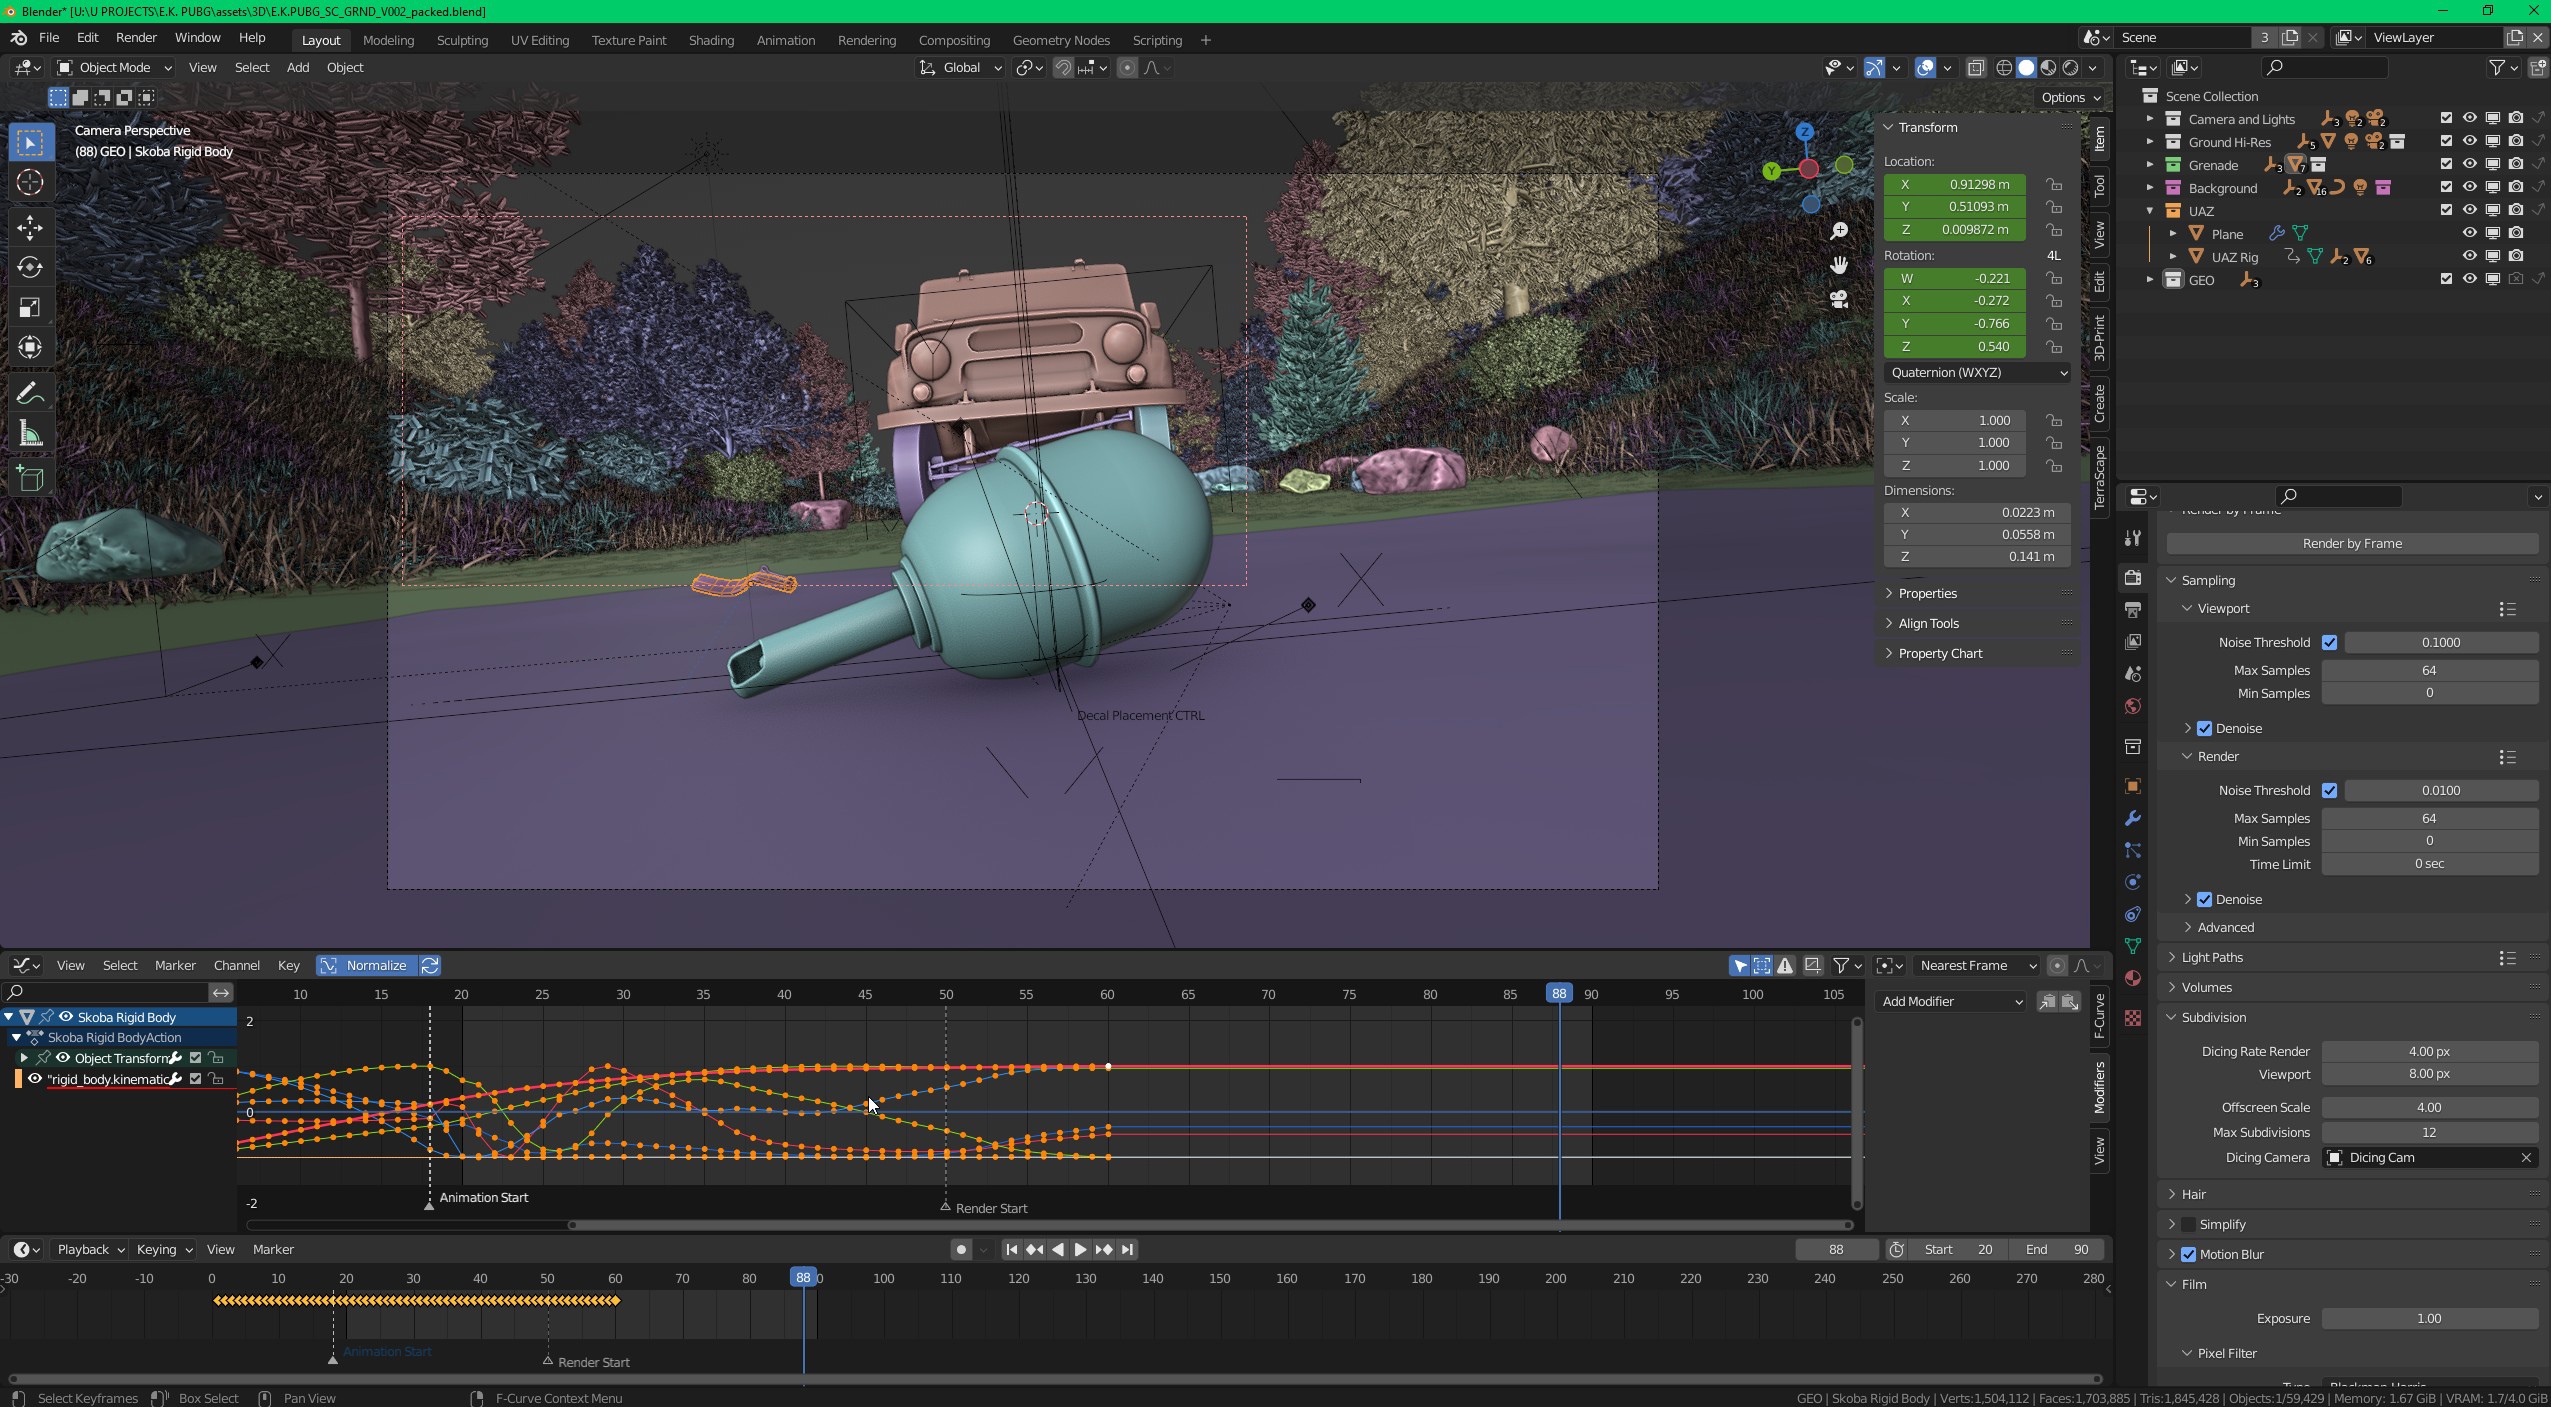
Also, a couple of full CG scenes laid upon my shoulders. One of it is the closeup with the RGD-5 grenade. Unfortunately, it was cut down from 3 seconds to just a few frames in the final edit, so you cant really see a rigid body physics simulation used to animate grenade drop and roll. But… I can just upload it here 🙂
Airdrop shots were done, using the original 3D asset sent us from the PUBG team. The whole animation and cloth sim was assembled in just a few hours. Then a couple more hours for the final render and a few more for the final compositing. In the end, I managed to produce these shots in a single day, just before the deadline.
Despite Blender’s versatility, I also had to write a few scripts and a whole new addon to automate some of the tedious repetitive tasks. The Overscan Rendering addon was written in just a few hours, to compensate such a simple but still missing feature – the ability to render some additional pixels, while maintaining camera’s field of view, which is a must, when you’re dealing with live footage and real camera optical distortions.

Overscan Rendering addon
Overall, working on this project brought some challenging and interesting tasks to solve, and, once again, allowed Blender to prove itself to be a solid and versatile production tool.